Listing and formatting partition
In the previous article, we created a partition on the hard disk. Now, it is time to see if the partition table has been altered successfully and then, we will format the partition to mount it to a directory.
We can use the below command to see.
fdisk -l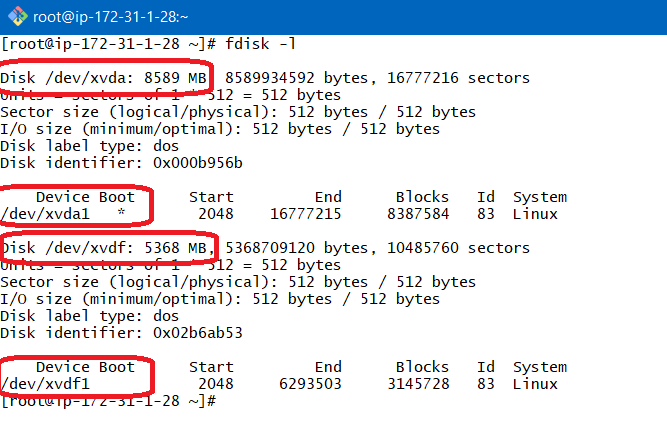
Here, we can see that we have 2 disks, each having 1 partition. After creating the partition, you have to format it with a filesystem of your choice.
We have a few utilities that can help us format the partition.
Type the below command and hit the tab key twice; it will show us all other utilities available for formatting.
mkfs
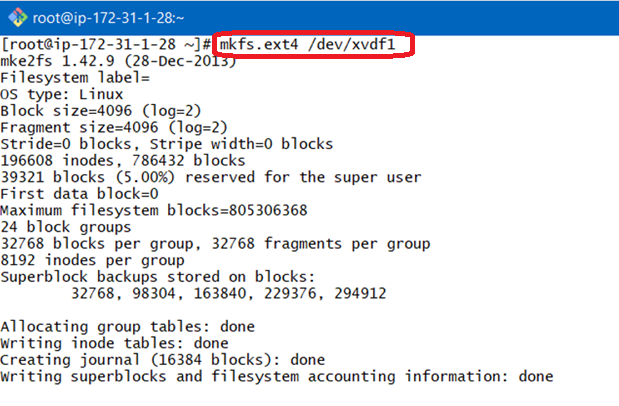
Here, I have chosen ext4 filesystem.
Run the below command.
mkfs.ext4 /dev/xvdf1This will format the newly created partition.
So, we are done with the formatting partition. Next is to mount the partition.
MOUNTING PARTITION
Once formatting is done, we can mount that partition to a directory. For that, we first need to create a directory and mount it to a partition with the below commands.
mkdir /opt/devdata
mount /dev/xvdf1 /opt/devdata
df -h 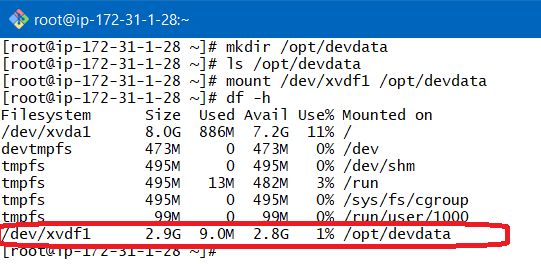
We can see that our partition /dev/xvdf1 has been mounted successfully to the /opt/devdata directory.
ADDING DATA TO A PARTITION VIA DIRECTORY
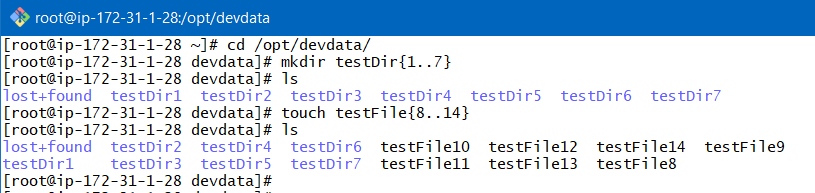
Now, let’s go to /opt/devdata and create some files and directories with the below commands.
cd /opt/devdata
mkdir testDir{1..7}
touch testFile{8..14]
UNMOUNTING DIRECTORY
We can also unmount the directory from the partition and after unmounting we will see that we don’t have any data inside the directory /opt/devdata.

IMPORTANT
This is because all the data has been stored in the partition and we can thus mount the partition to some other directory if we want to recover the data. So the data is still with us.
So far what we have seen is TEMPORARY MOUNTING which means that if we reboot the machine then this mount point will be unmounted.
PERMANENT MOUNTING
If we really want to mount a directory permanently to a partition, then we will need to make some changes in the /etc/fstab file.
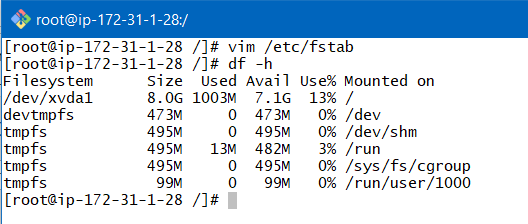
So, open the file using the vim editor using the below command.
vim /etc/fstab and add the below line of code.
/dev/xvdf1 /opt/devdata ext4 defaults 0 0 
Save the file and exit.
Now if we again run df-h , then also we would not see the mounting of directory /opt/devdata to the partition /dev/xvdf1.
For that we need to run the below command.
mount -a
df -h 
Now we can see that mount point. This happened because the machine has read the file /etc/fstab and has generated the mounting as per the details mentioned there.
We can also see that our data which got disappeared from the directory is now visible as we have again mounted it to the partition /dev/xvdf1.
This is called Permanent mounting.
Now we can see that if we don’t delete the volumes then we can attach it to any instance and can mount it there and thus it will behave like a pen drive.
People may accidentally delete the data or EBS volume itself may get corrected for some reasons.
So, there should be ways to recover from the data loss and with backups, we can recover the loss.
Great content! Super high-quality! Keep it up! 🙂