Emails are sent via smtp server. Therefore, we need to set the smtp server on our Jenkins in Configure System. In this example I would be using smtp server by gmail. If you are using gmail, you need to disable the captcha and enable less secure app settings from your gmail account.

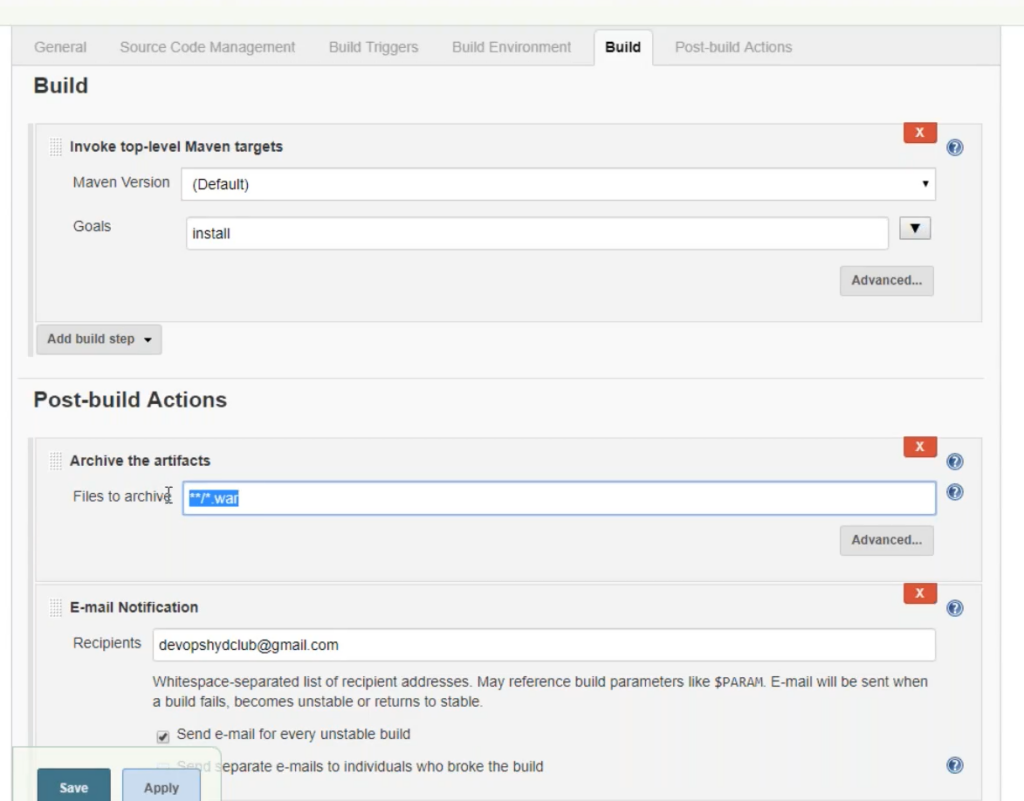
Now if we want to add recipients corresponding to any job, we can do that simply by adding their email’s in the Post Build Action of the job.
Storing Artifacts In Software Repository – Nexus Sonatype
Jenkins is a CI tool rather than a storage tool, therefore we require a place where we can store our artifacts. This place is known as software repository, which in this case would be Nexus Sonatype.
Software repository cater in two ways:
- Store the artifacts with different versions
- Store the softwares, which later we can use to install the softwares from
Here we will use Nexus Sonatype as it is opensource 🙂
Prerequisite: Java, also do not install it on Jenkins machine as Nexus would require space.
Link for download for Nexus Sonatype is as below:
https://download.sonatype.com/nexus/3/latest-unix.tar.gz
I have created a centos t2.small instance type which is not free, it is having a minimal charge.
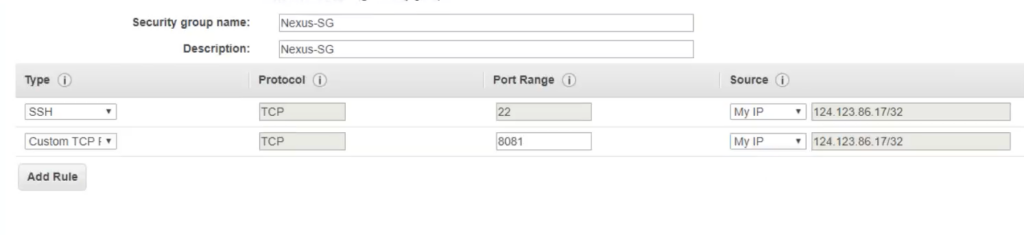
Security group for the instance:
Installing Nexus Sonatype


wget https://download.sonatype.com/nexus/3/latest-unix.tar.gzMoving tar to the /usr/local directory and then extracting it
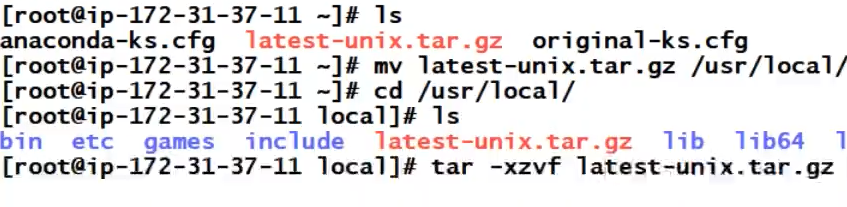
Two directories will be extracted.
1. nexus-3.17.0-01 which will have the configurations
2. sonatype-work which will have the data
I think we should have extracted it in a seperate directory. Let’s create a directory nexus and move the extracted directories over there.
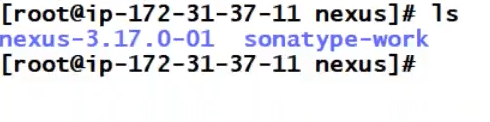
Inside nexus-3.17.0-01 has directories named bin,etc which will have startup scripts and configurations.
To run the service

This service will run in the foreground, which means if we do ctrl+C the process will be dead. Therefore, we will run the service from systemctl. the service will be up and running from bin/nexus run as well.
To run nexus from systemctl, create a file at the below location and paste the below data.
# vi /etc/systemd/system/nexus.service

[Unit]
Description=nexus service
After=network.target

[Service]
Type=forking
LimitNOFILE=65536
ExecStart=/usr/local/nexus/nexus-3.17.0-01/bin/nexus start
ExecStop=/usr/local/nexus/nexus-3.17.0-01/bin/nexus stop
User=nexus
Restart=on-abort

[Install]
WantedBy=multi-user.target
Creating a nexus user and giving it rights
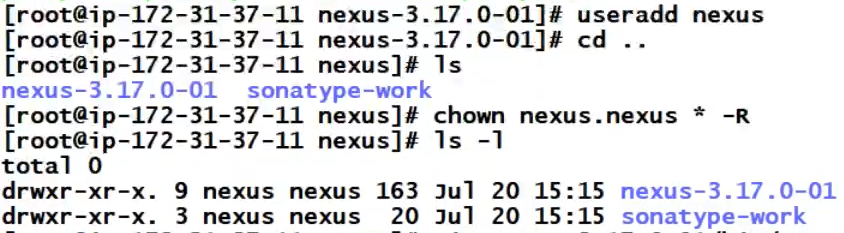
# useradd nexus
# chown nexus.nexus * -R
# vi /opt/nexus-3.16.1-02/bin/nexus.rc
run_as_user="nexus"
Let’s load the file modified above and add it into systemctl
# systemctl daemon-reload Now we should be able to start nexus from systemctl
# systemctl enable nexus.service
# systemctl start nexus
# systemctl status nexus
Nexus logs can be found at
# tail -f /opt/sonatype-work/nexus3/log/nexus.logSo let’s refresh our browser and we should be able to see the nexus via systemctl as well
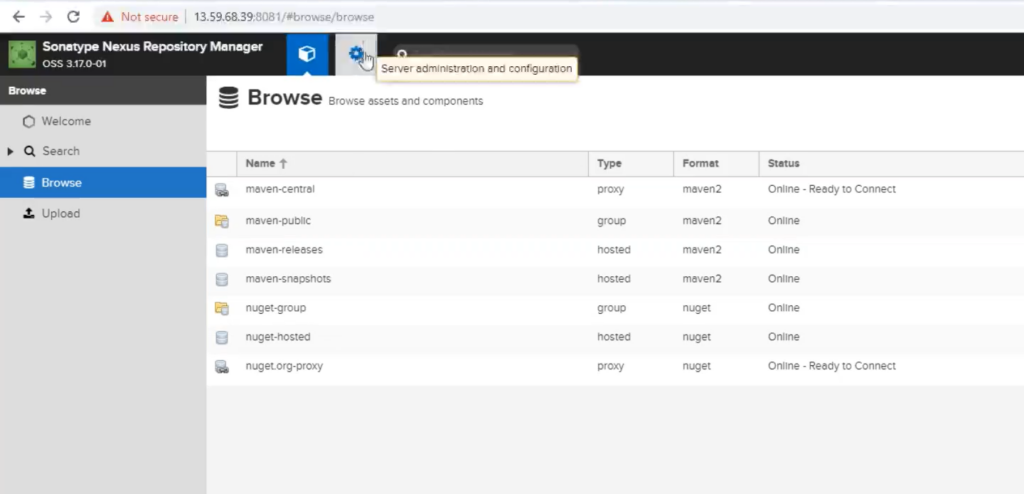
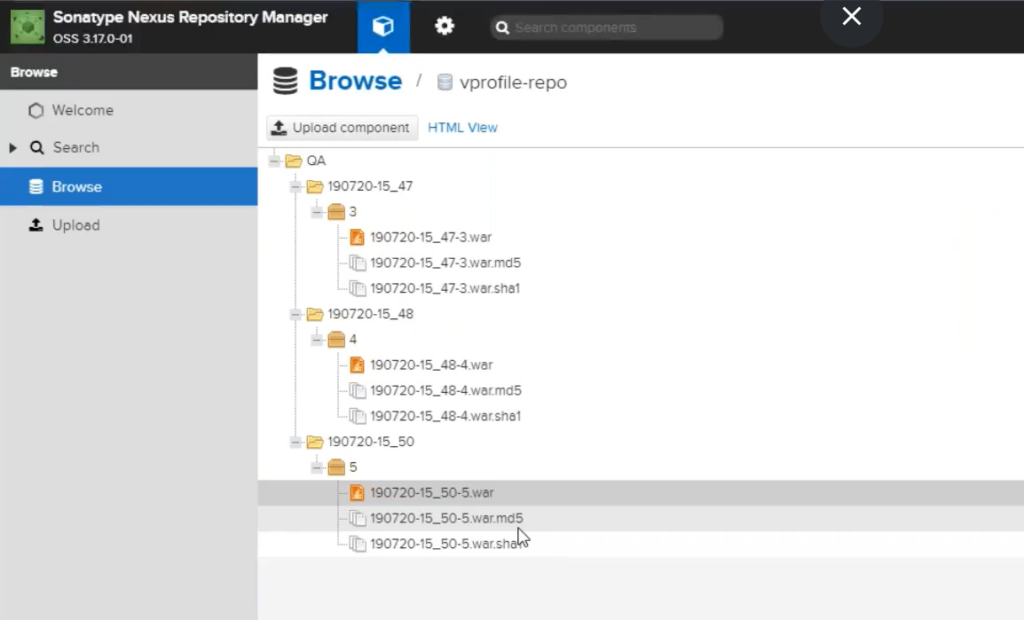
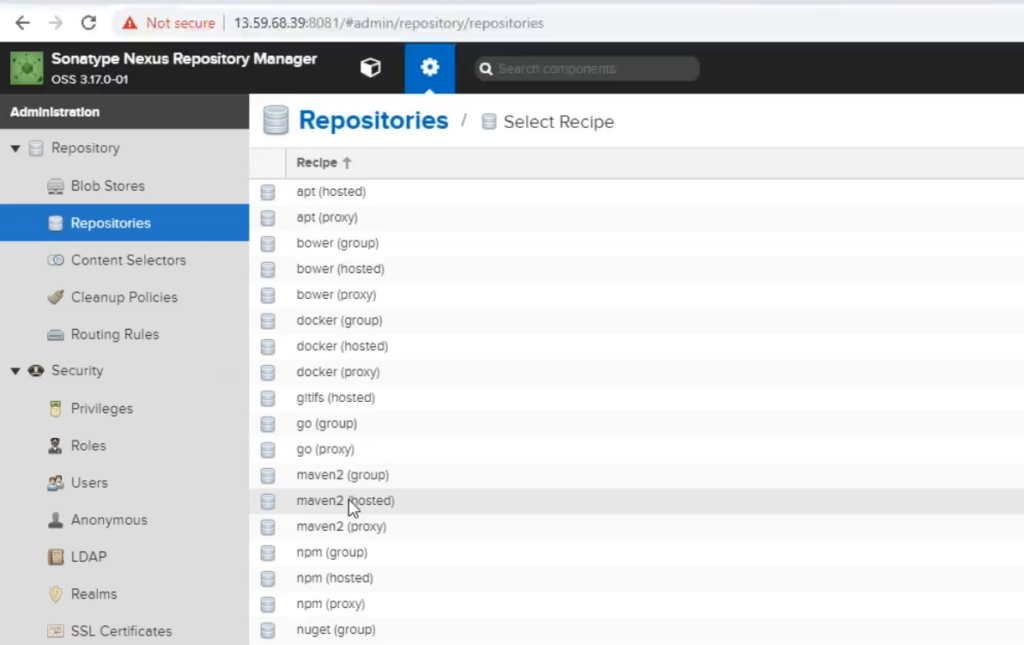
Let’s navigate to server administration and create our own repository.
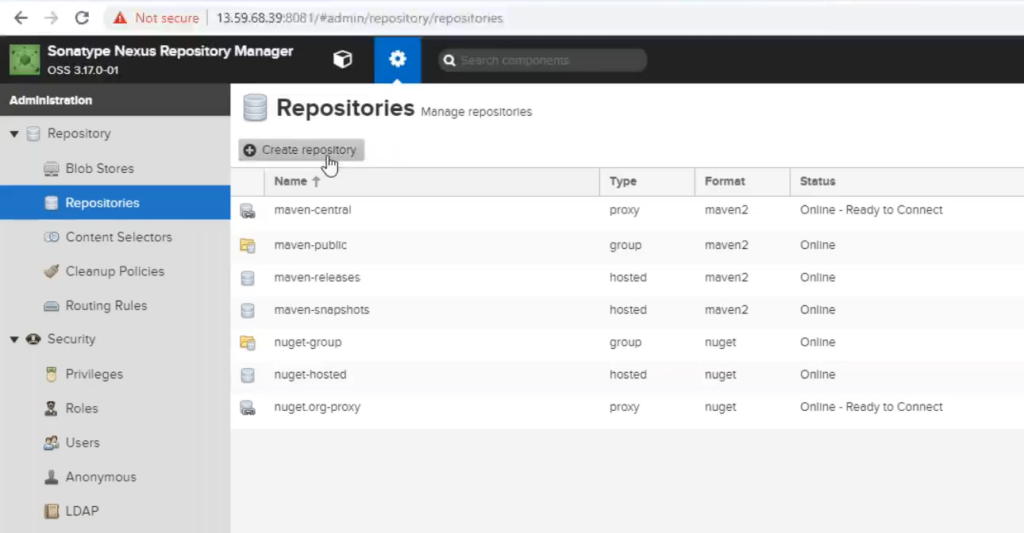
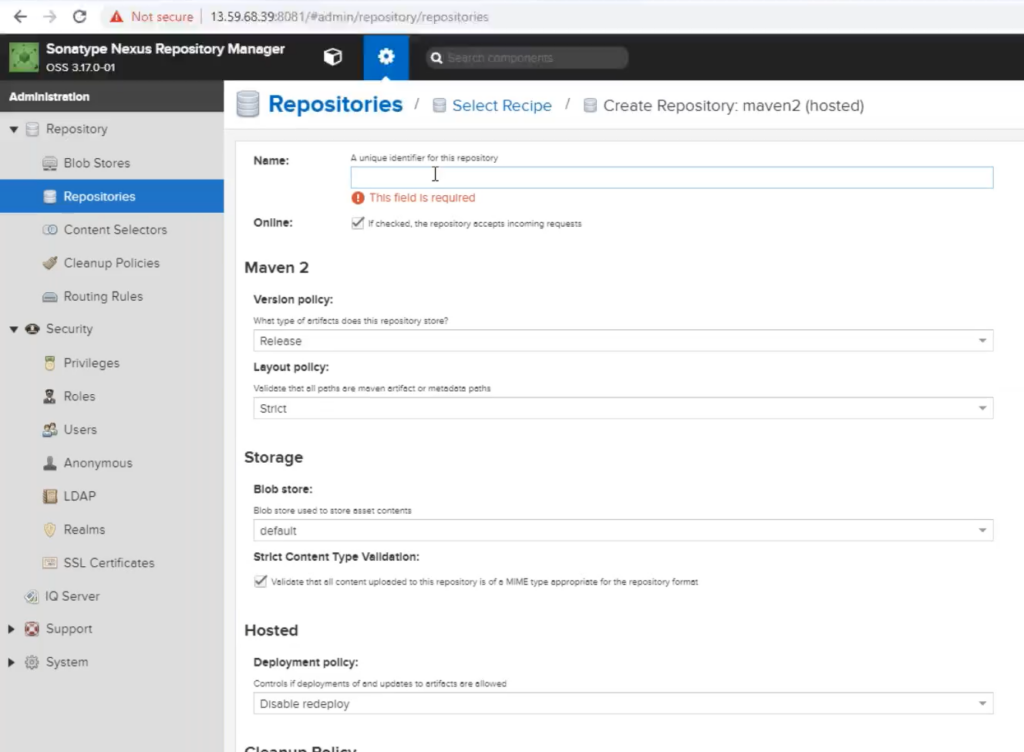
Note: be careful with the name, whatever name you are giving here, the same name would be provided in the jenkins.
Let’s create seperate jobs in jenkins for this purpose.
Now we need to install 2 plugins:
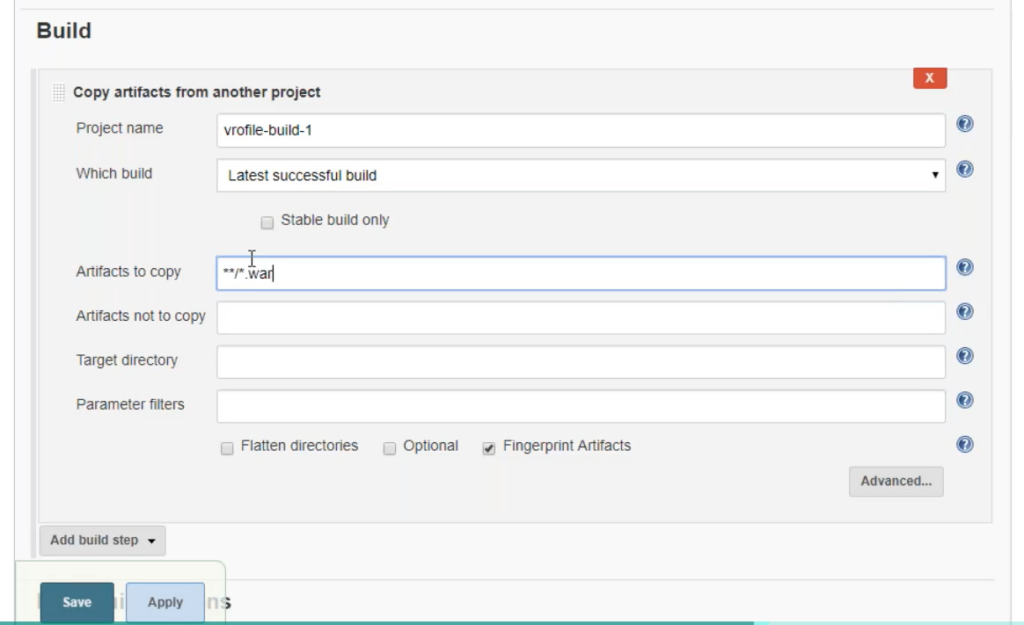
– Copy Artifact: take the artifact and copy it into a different job
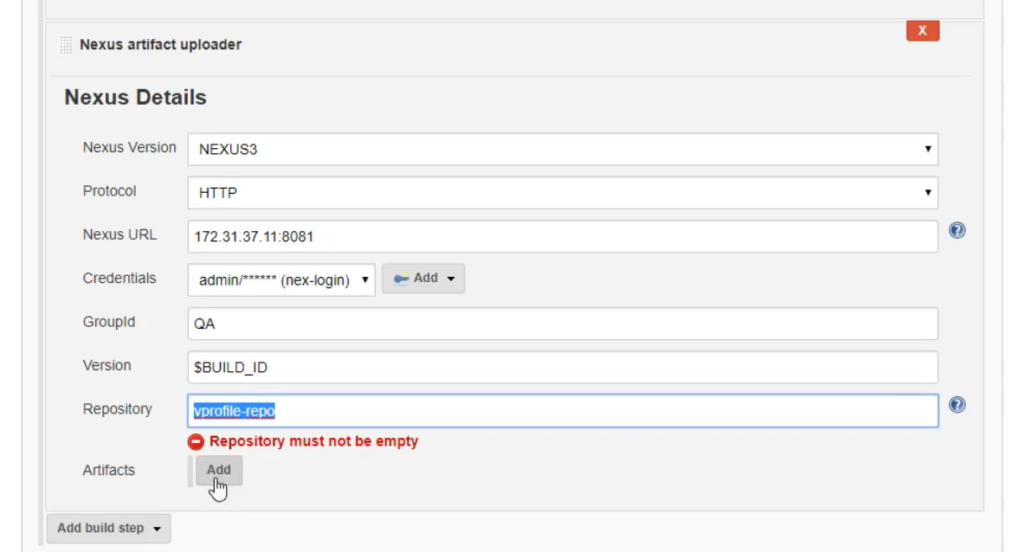
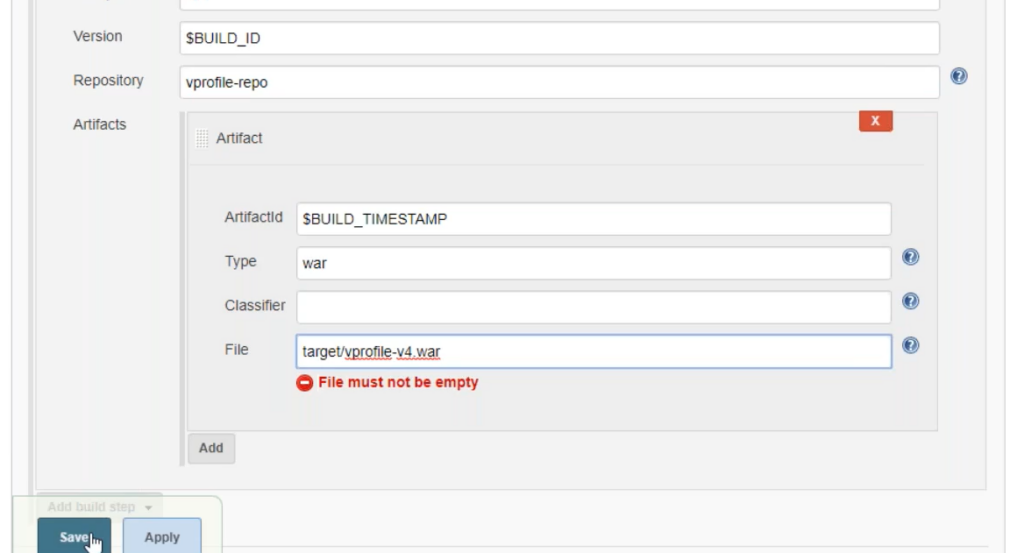
– Nexus Artifact Uploader: from that job we will push our artifact to the nexus
Let’s now create a Job – 2 which will send our artifacts to nexus
Let’s build the job to see if its working.
Now in Job – 1, configure the Post build actions
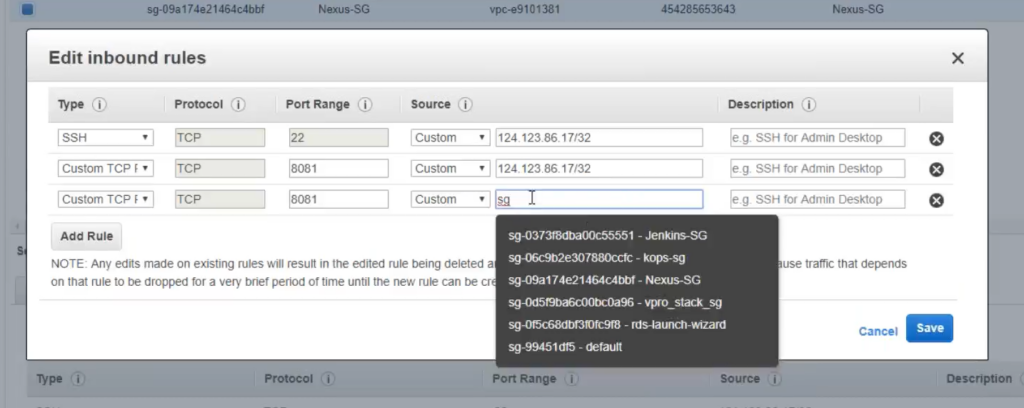
This job will fail. Due to the fact that we need to give security group of the jenkins instance inside the nexus EC2 instance.

Let’s now build our job again.
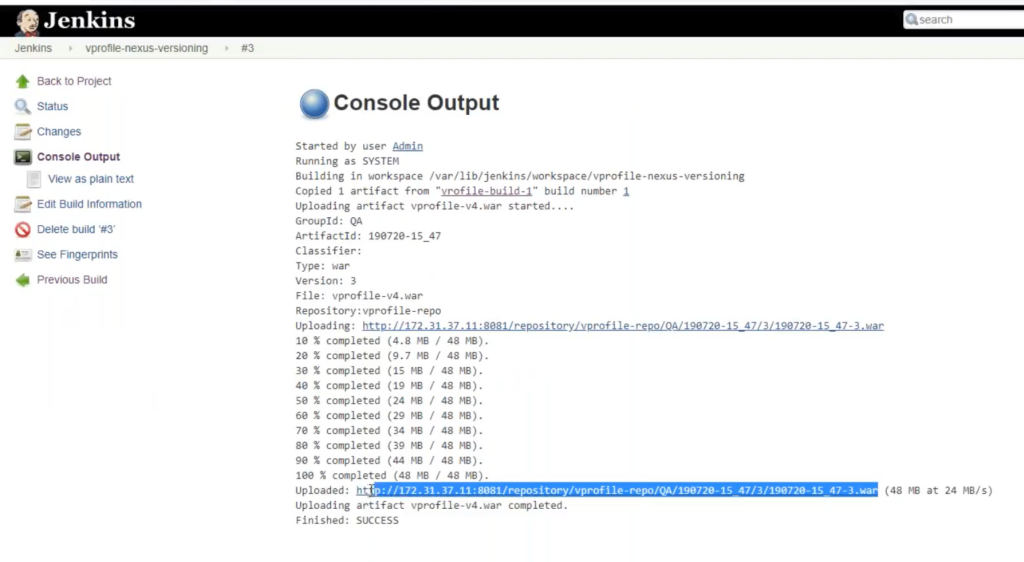
Let’s go to nexus to see if the artifacts are uploaded or not.
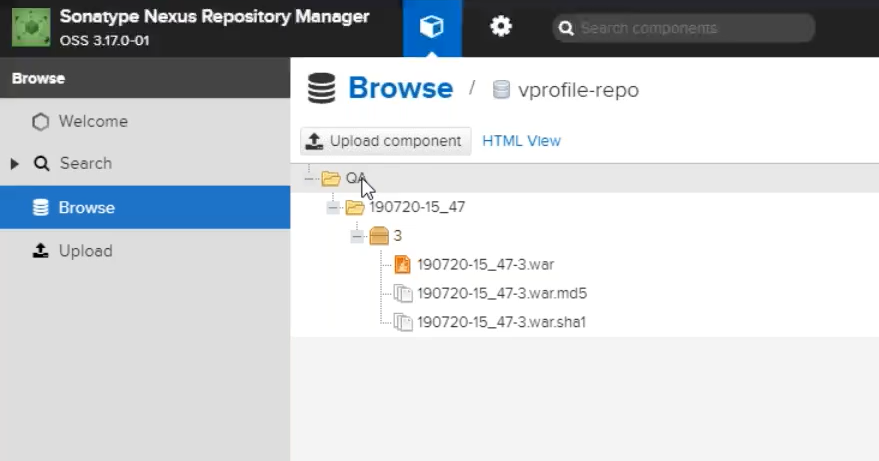
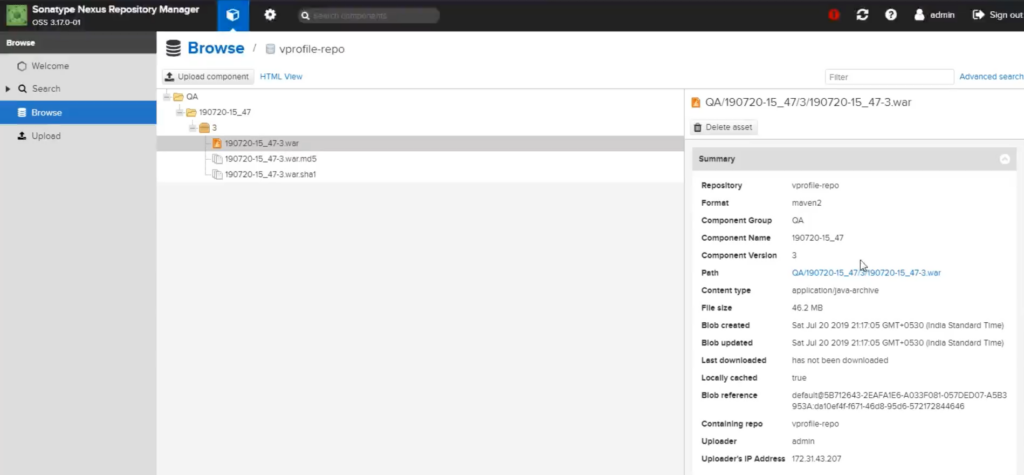
And we are good to go ahead. One last thing. As we know that our job -2 is dependent on job -1, let’s combine them together.
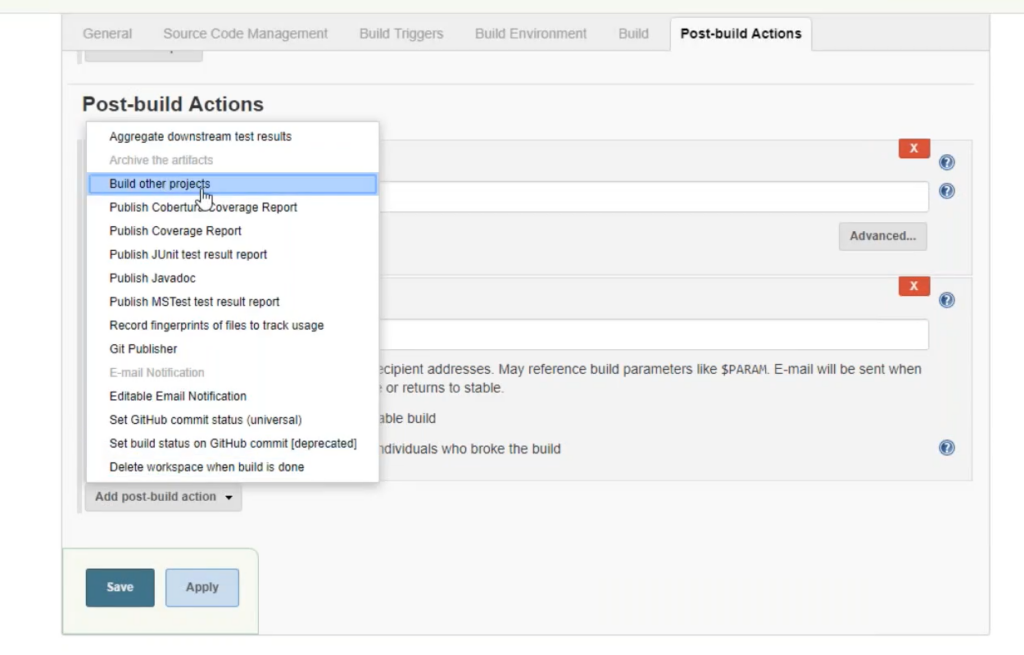
Therefore, on triggering Job -1, Job -2 will be executed automatically.