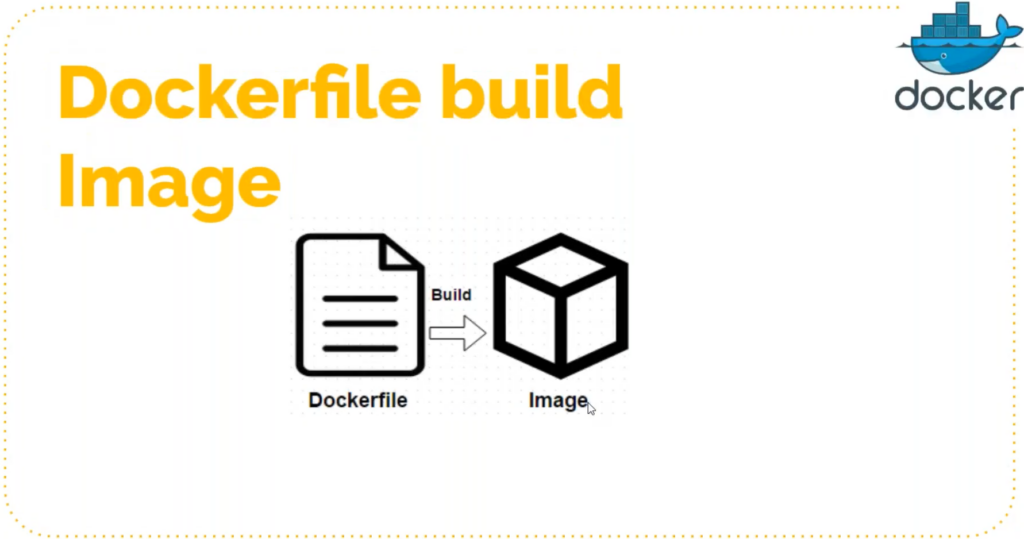
Dockerfile contains information to build images.


We are aware how to host a apache2 website, so let’s host a website taking a template via tooplate.com / we call this as containerizing an application.
Let’s download the template which is in zip format
wget https://www.tooplate.com/zip-templates/2117_infinite_loop.zip
unzip it now and create a tar file. Using a tar instead of zip because later while writing Dockerfile we will provide command as ADD which extract the contents from tar file and copies it at the desired location. If we would have been using COPY instead of ADD, then copy would have simply dumped the data without extraction.
tar -czvf infi.tar.gz *
mv infi.tar.gz ../
Let’s create a Dockerfile now.
From this Dockerfile we will create an image and further will create a container where our App will be hosted.

FROM ubuntu:latest
LABEL "NAME"="Infinite Web"
RUN apt update
RUN apt install apache2 git wget -y
ADD infi.tar.gz /var/www/html/
CMD ["/usr/sbin/apache2ctl", "-D", "FOREGROUND"]
WORKDIR /var/www/html
VOLUME /var/www/html
EXPOSE 80
To start a apache2 service we require a systemctl start apache2, however systemctl would not be recognized. Therefore using a binary /usr/sbin/apache2ctl. This binary is available in the vendor documentation. -D is for detached mode and Foreground signifies that it would be running on a shell.
Let’s run this Dockerfile now
docker build -t infi-web:v1 .ubuntu@ip-172-31-36-213:~/images/my-web$ docker images
REPOSITORY TAG IMAGE ID CREATED SIZE
infi-web v1 1292b513c83c 29 seconds ago 236MBSo we have successfully created the image. Now its time to create the container from this image.
ubuntu@ip-172-31-36-213:~/images/my-web$ docker run -d -P infi-web:v1
8043f84dd0f14f65cdb17205399295eb57b94cf3cdb47b64d94055a1c8d68451

ubuntu@ip-172-31-36-213:~/images/my-web$ docker ps
CONTAINER ID        IMAGE               COMMAND                  CREATED                                                           STATUS              PORTS                   NAMES
8043f84dd0f1        infi-web:v1         "/usr/sbin/apache2ct…"   11 seconds ago                                                    Up 10 seconds       0.0.0.0:32768->80/tcp   eager_turing
So we have created the container. Previously we have used -p instead of -P. -P will automatically map the containers exposed port to our host machine port. We could have used -p as well. Here our host machine port is 32768. Let’s access our host machine and have a look at the app.

Its time to publish our image to the registry/dockerhub. Here are the commands to push the image to the registry.
docker build -t Account-Name/Image-Name DockerFilePath
docker login
docker push Account-Name/Image-Name
In the previous example we have created an image from an ubuntu image and then deployed apache2 service on that and deployed our artifact from tooplate.com. We need not to do all that stuff from the scratch. We can easily get these already made images from the docker hub. We can take that as our base image and on top of it put our configuration and data.
This is the ideal way to do this.
Example of my Dockerfile for database:
FROM mysql:5.7.25


ENV MYSQL_ROOT_PASSWORD="xxxxxxx"
ENV MYSQL_DATABASE="test"


ADD db_backup.sql docker-entrypoint-initdb.d/db_backup.sql
Dockerfile for tomcat :
FROM tomcat:8-jre11


RUN rm -rf /usr/local/tomcat/webapps/*


COPY target/app-v1.war /usr/local/tomcat/webapps/ROOT.war


EXPOSE 8080
CMD ["catalina.sh", "run"]
docker push sood07deepak/tomcatappimage:latestBuild process does the same thing, it creates a container and on top of it executed your instruction.
It pushes the image but it does not pushes the whole image. It just pushes the layer we have added as tomcat image is already on the docker hub. So it has mounted a layer on top of that. We share binaries and libraries like this.
Images should be displayed on your docker hub account

ubuntu@ip-172-31-36-213:~/Docker-db$ docker images
REPOSITORY                  TAG                 IMAGE ID            CREATED             SIZE
sood07deepak/nginximage     v1                  fe4a2ef3b74e        37 minutes ago      126MB
sood07deepak/dbimage        v1                  1945af790a5e        40 minutes ago      372MB
sood07deepak/tomcatappimg   latest              8d7b99aa75ef        56 minutes